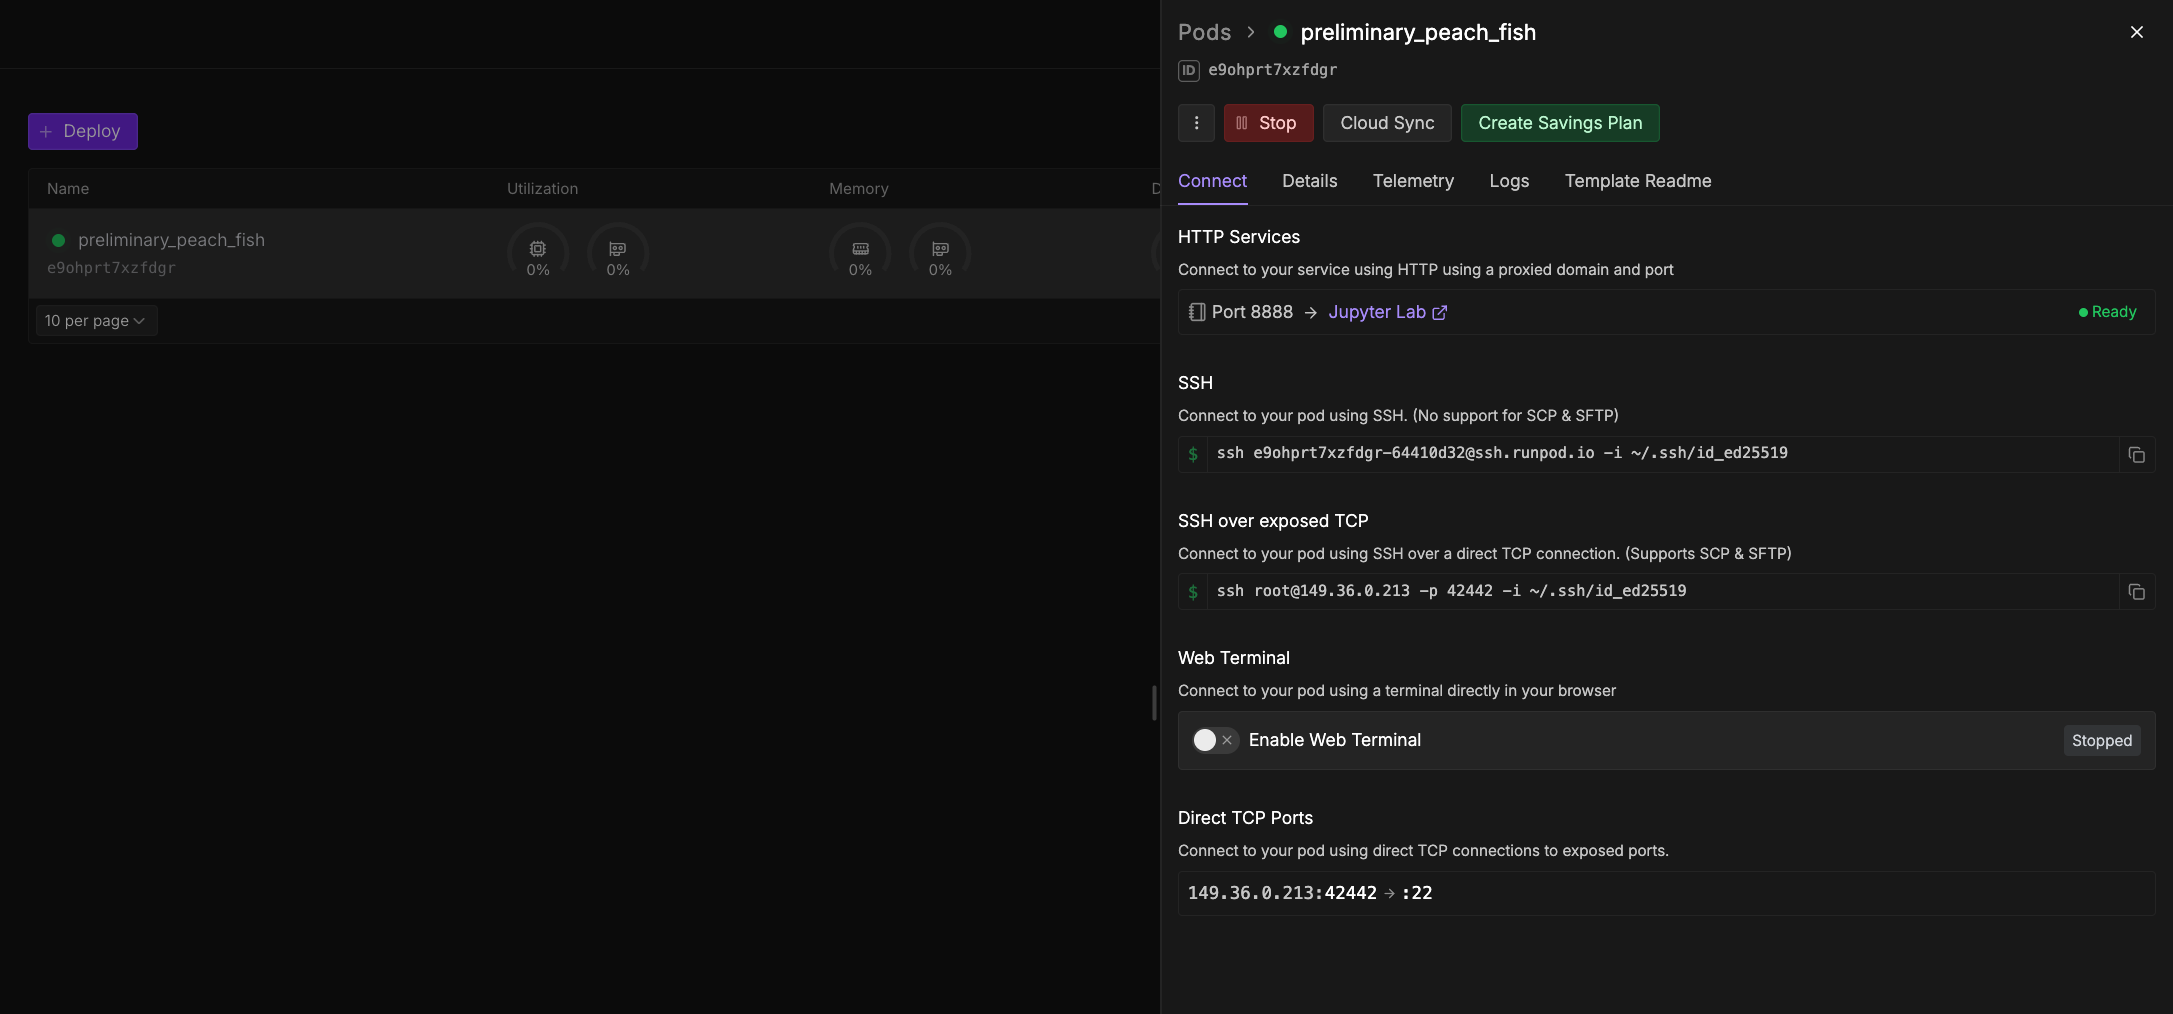
Web terminal connection
The web terminal offers a convenient, browser-based method to quickly connect to your Bnode and run commands. However, it’s not recommended for long-running processes, such as training an LLM, as the connection might not be as stable or persistent as a direct SSH connection. The availability of the web terminal depends on the Bnode’s template. To connect using the web terminal:- Navigate to the Bnodes page in the Brightnode console.
- Expand the desired Bnode and select Connect.
- If your web terminal is Stopped, click Start.
- Click Open Web Terminal to open a new tab in your browser with a web terminal session.
JupyterLab connection
JupyterLab provides an interactive, web-based environment for running code, managing files, and performing data analysis. Many Brightnode templates, especially those geared towards machine learning and data science, come with JupyterLab pre-configured and accessible via HTTP. JupyterLab is one of several built-in utility services included with every Bnode. Other services like VS Code Server, system monitoring, and ML tools are also available. To connect to JupyterLab (if it’s available on your Bnode):- Deploy your Bnode, ensuring that the template is configured to run JupyterLab. Official Brightnode templates like “Brightnode Pytorch” are usually compatible.
- Once the Bnode is running, navigate to the Bnodes page in the Brightnode console.
- Find the Bnode you created and click the Connect button. If it’s grayed out, your Bnode hasn’t finished starting up yet.
- In the window that opens, under HTTP Services, look for a link to Jupyter Lab (or a similarly named service on the configured HTTP port, often 8888). Click this link to open the JupyterLab workspace in your browser.
- Once in JupyterLab, you can create new notebooks (e.g., under Notebook, select Python 3 (ipykernel)), upload files, and run code interactively.