Key components
Each Bnode consists of these core components:- Container environment: An Ubuntu Linux-based container that can run almost any compatible software.
- Unique identifier: Each Bnode receives a dynamic ID (e.g.,
2s56cp0pof1rmt) for management and access. - Storage:
- Container volume: Houses the operating system and temporary storage.
- Disk volume: Persistent storage that is preserved between Bnode starts and stops.
- Network volume (optional): Permanent, portable storage that can be moved between machines and persists even after Bnode deletion.
- Hardware resources: Allocated vCPU, system RAM, and multiple GPUs (based on your selection).
- Network connectivity: A proxy connection enabling web access to any exposed port on your container.
Bnode templates
Bnode templates are pre-configured Docker image setups that let you quickly spin up Bnodes without manual environment configuration. They’re essentially deployment configurations that include specific models, frameworks, or workflows bundled together. Templates eliminate the need to manually set up environments, saving time and reducing configuration errors. For example, instead of installing PyTorch, configuring JupyterLab, and setting up all dependencies yourself, you can select an official Brightnode PyTorch template and have everything ready to go instantly.Storage
Bnodes offer three types of storage to match different use cases: Every Bnode comes with a resizable container disk that houses the operating system and stores temporary files, which are cleared after the Bnode stops. Volume disks provide persistent storage that is preserved throughout the Bnode’s lease, functioning like a dedicated hard drive. Data stored in the volume disk directory (/workspace by default) persists when you stop the Bnode, but is erased when the Bnode is deleted.
Optional network volumes provide more flexible permanent storage that can be transferred between Bnodes, replacing the volume disk when attached. When using a Bnode with a network volume attached, you can safely delete your Bnode without losing the data stored in your network volume directory (/workspace by default).
To learn more, see Storage options.
Deployment options
You can deploy Bnodes in several ways:- From a template: Pre-configured environments for quick setup of common workflows.
- Custom containers: Pull from any compatible container registry such as Docker Hub, GitHub Container Registry, or Amazon ECR.
- Custom images: Build and deploy your own container images.
When building a container image for Brightnode on a Mac (Apple Silicon), use the flag
--platform linux/amd64 to ensure your image is compatible with the platform.Built-in utility services
Every Bnode comes with pre-configured utility services for development, monitoring, and ML workflows. These services run automatically and are accessible via your browser with no additional setup required. All templates include:- JupyterLab: Interactive notebooks with Python and GPU support.
- VS Code Server: Full IDE running in your browser.
- System Monitor: Real-time CPU, GPU, and memory statistics.
- File Browser: Web-based file upload and download interface.
Connecting to your Bnode
Once deployed, you can connect to your Bnode through:- SSH: Direct command-line access for development and management.
- Web proxy: HTTP access to exposed web services via URLs in the format
https://[bnode-id]-[port].brightnode.cloud. - Console and API keys: Manage access from the Brightnode console and use scoped credentials where your workflow requires automation.
- Built-in services: Pre-configured utility services like JupyterLab, VS Code, and monitoring tools.
- VSCode/Cursor: Connect to your Bnode with VSCode or Cursor, working within your volume directory as if the files were stored on your local machine.
Data transfer
You can transfer data from your Bnode to most major cloud providers, and to your local machine with built-in tools such as SSH, SCP, rsync, and the browser-based file tools included in many templates. To learn more about all available options, see Transfer files.Customization options
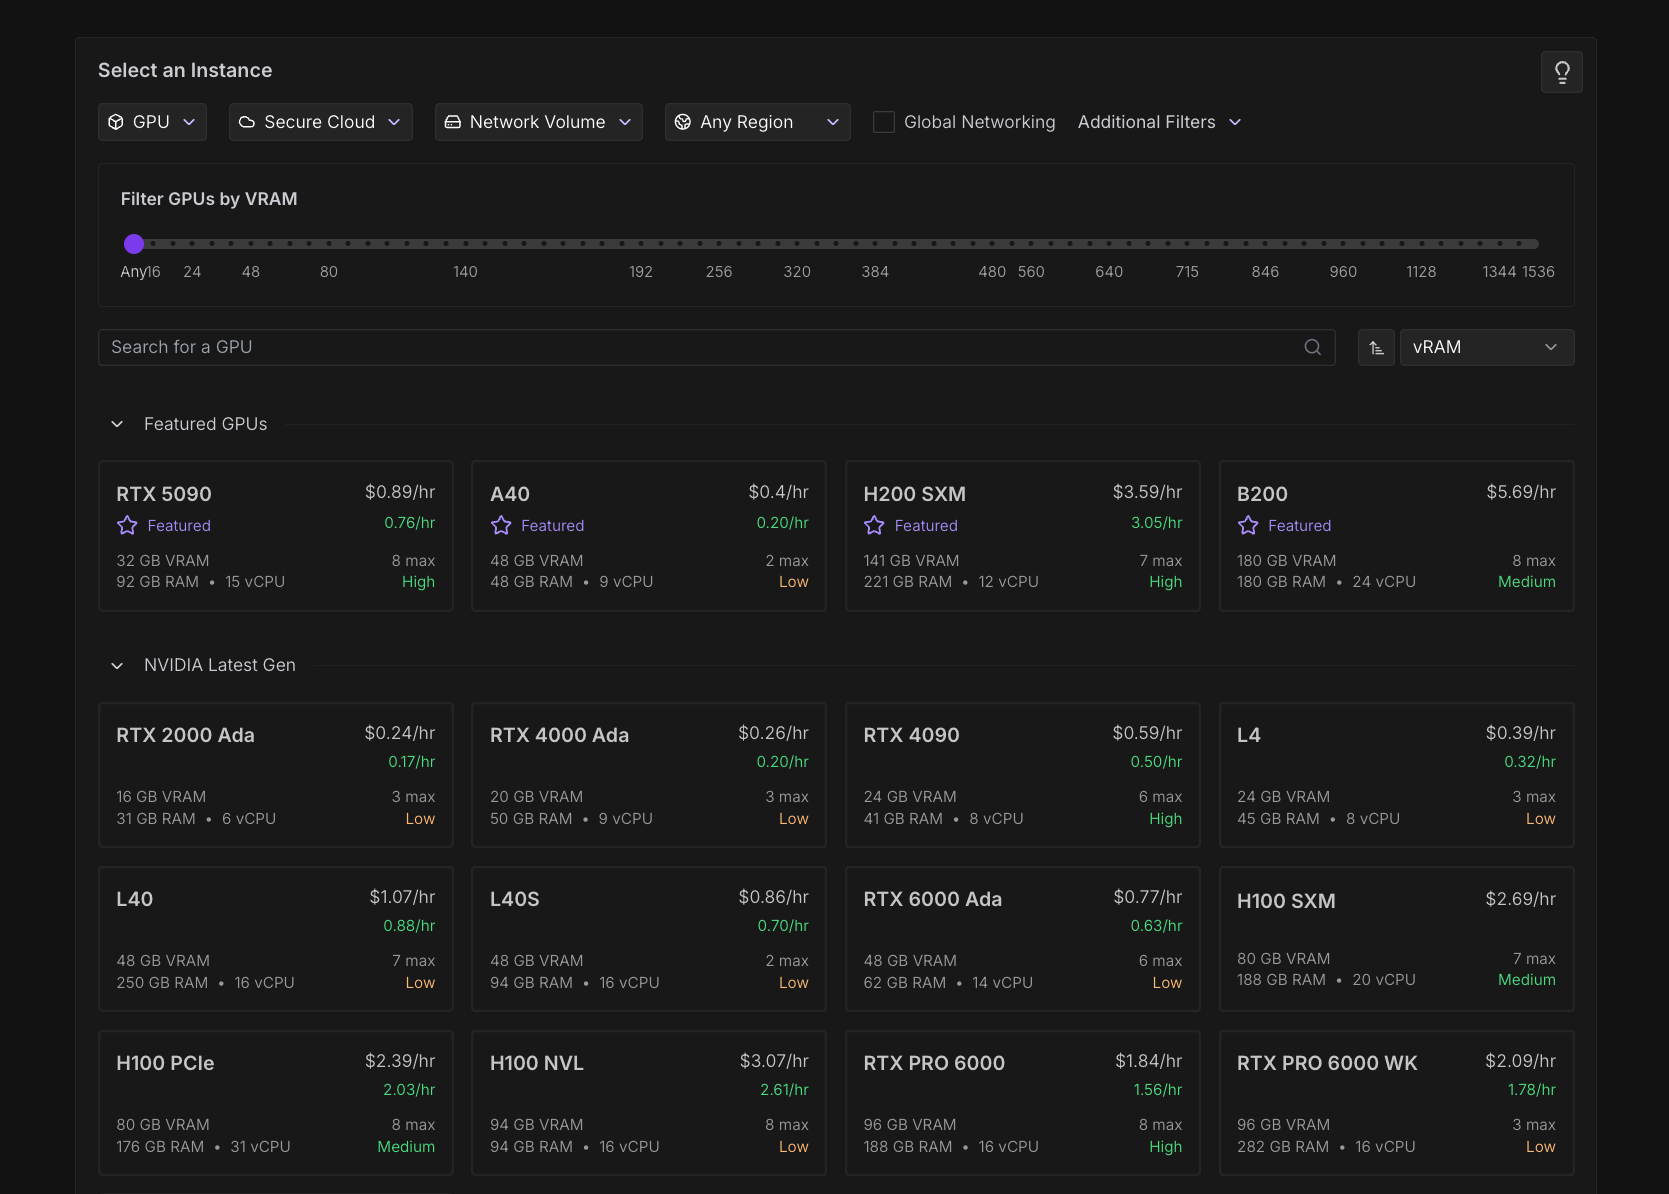
Bnodes offer extensive customization to match your specific requirements. You can select your preferred GPU type and quantity, adjust system disk size, and specify your container image. Additionally, you can configure custom start commands, set environment variables, define exposed HTTP/TCP ports, and implement various storage configurations to optimize your Bnode for your specific workload.Bnode types
Brightnode offers two types of Bnode:- Secure Cloud: Operates in T3/T4 data centers, providing high reliability and security for enterprise and production workloads.
- Community Cloud: Connects individual compute providers to users through a vetted, secure peer-to-peer system, with competitive pricing options.
Deploy a Bnode
Follow these steps to deploy a Bnode:- Choose a Bnode based on your computing needs and budget.
- Navigate to the Bnode creation page.
- Configure your Bnode settings, including GPU type, storage, and networking options.
- Launch your Bnode and connect using SSH, JupyterLab, or your preferred remote access method.
- Manage your Bnode through the Brightnode console.
Pricing
Bnodes are billed by the minute with no fees for ingress/egress. Brightnode also offers long-term savings plans for extended usage patterns. See Bnode pricing for details.Limitations
Docker Compose is not supported: Brightnode runs Docker for you, so you cannot spin up your own Docker instance or use Docker Compose on Bnodes. If your workflow requires Docker Compose, create a custom template with a pre-built Docker image that contains all necessary components. UDP connections are not supported: Bnodes only support TCP and HTTP connections. If your application relies on UDP, you’ll need to modify your application to use TCP-based communication instead. Windows support: Bnodes do not currently support Windows.Next steps
Ready to get started? Explore these pages to learn more:- Deploy your first Bnode using this tutorial.
- Choose a Bnode based on your requirements.
- Learn how to connect to your Bnode after deployment.
- Learn how to manage your Bnodes using the console and CLI.
- Set up persistent storage for your data.
- Configure global networking for your applications.